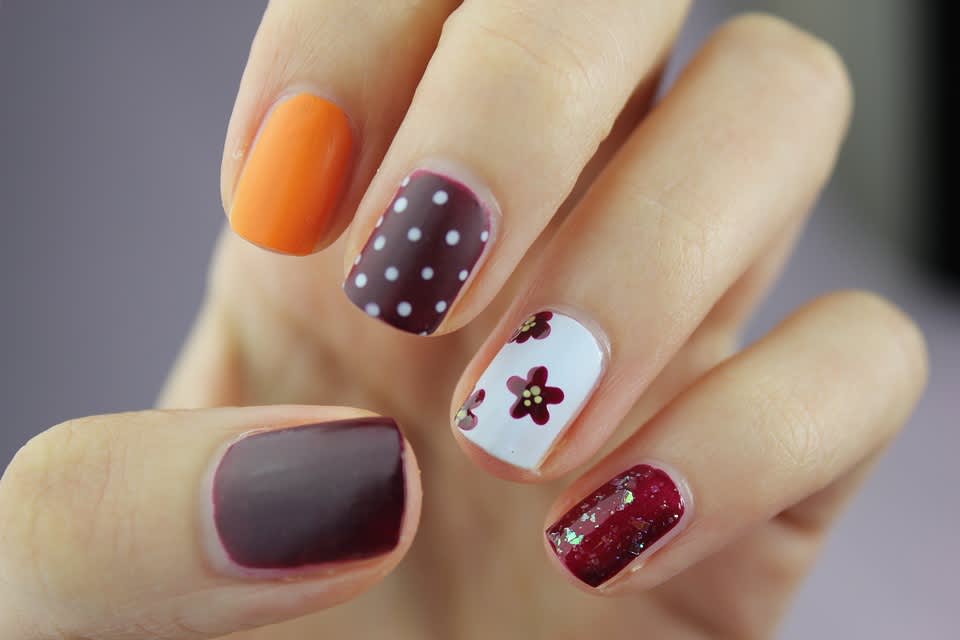
Nail Art: The Head-Turning Look

It is fun, quirky and ultra-glam! Not only does it grab some serious attention, it lets you make a bold statement wherever you go. We are talking about colour-blocking, the trend that's everywhere and on everything!
Colour-blocking started off last year as a clothing trend but it became so incredibly popular that the technique has made its way onto shoes, bags, makeup, furnishing, walls and just about anything you can think of. Colour-blocking typically entails setting solid colours against each other vertically or horizontally to achieve a striking look. A very popular colour-blocking style is to pair complementary colours together. Thus, you may find a dress with alternating orange and blue stripes, a skirt with fuchsia and yellow bars, or a bag with pink and mint stripes.
How to Colour-Block Your Nails
Colour-blocked nails are perhaps the biggest fashion sweeping runways across the world this season. Here's a step-by-step guide to colour-blocked nails:
As mentioned above, colour-blocking is all about bringing together complementary colours in a harmonious manner. Colour-blocking relies heavily on horizontal stripes, so for this tutorial, we'll opt for nails that are half yellow and half blue!
Step 1: Gather all supplies. You'll need yellow and blue nail colour, a clear coat or topcoat polish and some low-strength adhesive tape.
Step 2: When colour-blocking nails, always start with the lighter colour first. So in this case, start with the yellow polish and paint one coat carefully on each nail. Let this coat dry completely, be patient! Once the yellow polish is completely dry, apply the clear coat and wait again for it to dry.
Step 3: Next, cut ten strips of tape. Stick them several times on a cloth or desk to get rid of some of the stickiness. Then stick one strip on each nail in a way that the tape covers the lower half of every nail. Make sure that the tape is firmly in place.
Step 4: Now comes the trickiest part. Paint the un-taped area of each nail with the blue nail colour very carefully. Work quickly and precisely. Extend the blue polish over the tape, doing so will ensure straight and clean colour-blocking. Wait a few minutes for the blue coat to dry down.
Step 5: Carefully peel off the tape from each finger to reveal your brand new colour-blocked nails. Apply a topcoat polish to seal things off and you're all set!
Always allow sufficient drying time between each colour and clear coat. If you rush this process, you'll end up with messy nails. After you're comfortable with this simple look, experiment with more colours on each nail by sticking tape at different angles.