Getting Started With Your Drawing

The ability to draw the human face is always an artistic challenge. If you have even a modicum of drawing skills, however, you can easily learn a few tricks to improve your capability. Here are a few tips on how to draw a face profile.

Paper: Buy art paper made specifically for drawing portraits, it's thicker than ordinary paper, so repeated eraser use won't wear it down easily.

Pencils: Graphite or charcoal? Charcoal pencils are extremely soft and can get really messy, so you may want to initially work with graphite pencils. Buy 3-4 graphite pencils varying from hard to soft, the hardest grade is 9H, the softest is 9B. You will need soft pencils to create dark shades and hard ones for light shading.

Sharpener: Buy the best sharpener you can find, or ideally, two. You will need a sharp tipped pencil for fine details and another with more lead surface area for extensive shading. Some pencils are thick, others are thinner. Your sharpening tools should be able to accommodate all these requirements.

Kneaded eraser: This special eraser for artists is also called putty rubber. Kneaded erasers are durable and absorb particles of graphite or charcoal. The putty-like lump can be hand shaped to erase pencil lines with great precision; it can also be washed with detergent when it absorbs too much graphite!

Blending tool: This tool helps you blend the transition areas between varying skin tones while you draw a face profile. Art stores sell special blending stumps; alternatively, you can use cotton wool, paper tissue or soft cloth to achieve the same effects.
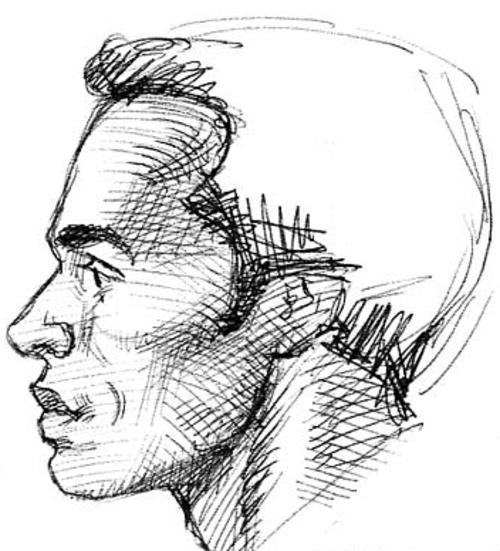
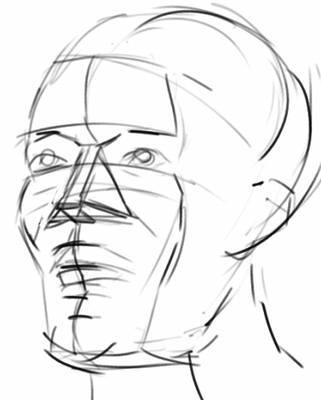


Techniques to Draw a Face Profile

There's more than one way to learn how to draw a face profile. Surf the Internet for drawing websites or videos and try out different techniques to see what works for you.

For a simple sketch, start off with a 6-square grid. Sketch each part of the profile against the central vertical line, for example, the nose in the central square, forehead against the topmost square and chin and lips fitting into the lowest square.

You will then be able to accurately place outlines of the eyebrow, eyelid, lips and neckline.

Finally, sketch in details of the hair, eye, nose and lips.

Alternatively, draw a circle to construct a foundation (which will incorporate the crown, brow and eyeline) and a triangle extending from the middle of the circle to its bottom (for the chin).

Gradually build up details of the facial organs and hair. Finally, remember to erase your construction lines.

As with any endeavour, the key to expertise is practice. Enjoy sketching!

View All Articles