For a vibrant pop of colour for your living spaces and for making your home feel cosy and lived-in, there's nothing like a classic quilt. In this article, we take a detailed look at how to make a quilt. To keep things manageable, we're making a baby-sized quilt.
Tools Needed for Quilting
You will need a pair of sharp micro-tip scissors, a rotary cutter (45mm), a cutting mat, straight pins, sewing machine, backing fabric and bamboo or cotton batting. Steps to Make a Basic Quilt
1. Buy fabrics in different prints/colours. Fabrics can complement each other or you can choose your fabrics in completely different shades and prints for a quilt that looks shabby chic. For e.g. combine polka dots with floral patterns!
2. Use a ruler to measure your fabric and then using the rotary cutter, cut out fabric squares measuring approximately 14 cm. Repeat the process until you have an assortment of 36 squares.
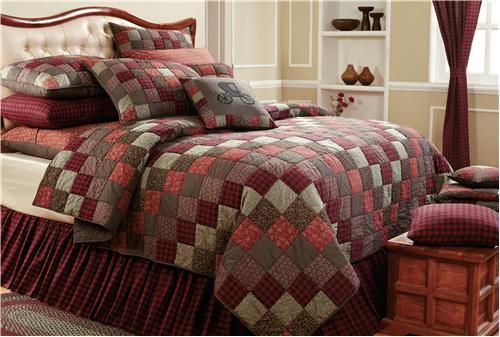
3. Next, arrange these 36 squares on a flat surface in a 6x6 arrangement. Rearrange the squares to arrive at a pattern you like.
4. Go through each row across one by one and use your sewing machine to stitch each square to the next one, use a straight stitch and about a quarter inch inseam.
5. Once you have six separate rows of stitched squares, iron all the seams down. Make sure they face the same direction. Do this for every row. 6. Once all the rows are ironed, pin one row with the one below it and then machine stitch them together, once again with a quarter inch inseam.
7. At this point, all your 36 squares should be joined together and your quilt is now ready for a border. Iron all 36 squares one final time.
8. Pick your border fabric, measure it so it fits the dimensions of your quilt and then machine stitch with a quarter inch inseam along each edge. Now, you have your quilt top! | 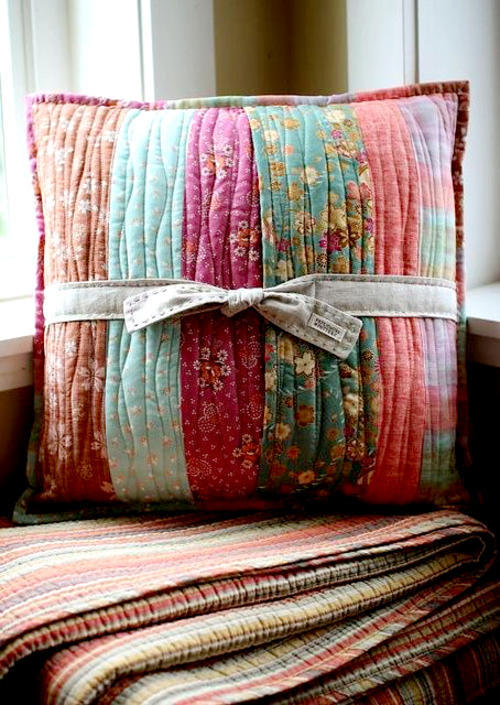 |
 | 9. Measure, cut and join the backing fabric to the quilt. The backing should be about 10 cm larger than the quilt top on all sides. Add batting in between the quilt top and backing and very carefully align the two layers together. Make sure there are no creases.
10. Fold in the extra backing material along the perimeters of your new quilt, machine stitch the border along each edge, step back and marvel at how beautiful it looks!
Quilting is really catching on as a hobby in many parts of the world. And now, with these simple instructions you are ready to make your very own quilt that's going to make your house look and feel even more beautiful.
|